The process of collage is a messy one. Which, is in no small part, what I love about it. As I wrote earlier in this series, most of my professional life has been spent in the hermetically sealed confines of Photoshop, making very good, very professional, work on a deadline. My collage is not that. In this fourth and final part of this series about my collage work, I want to write about the mess I make, and how I make it.
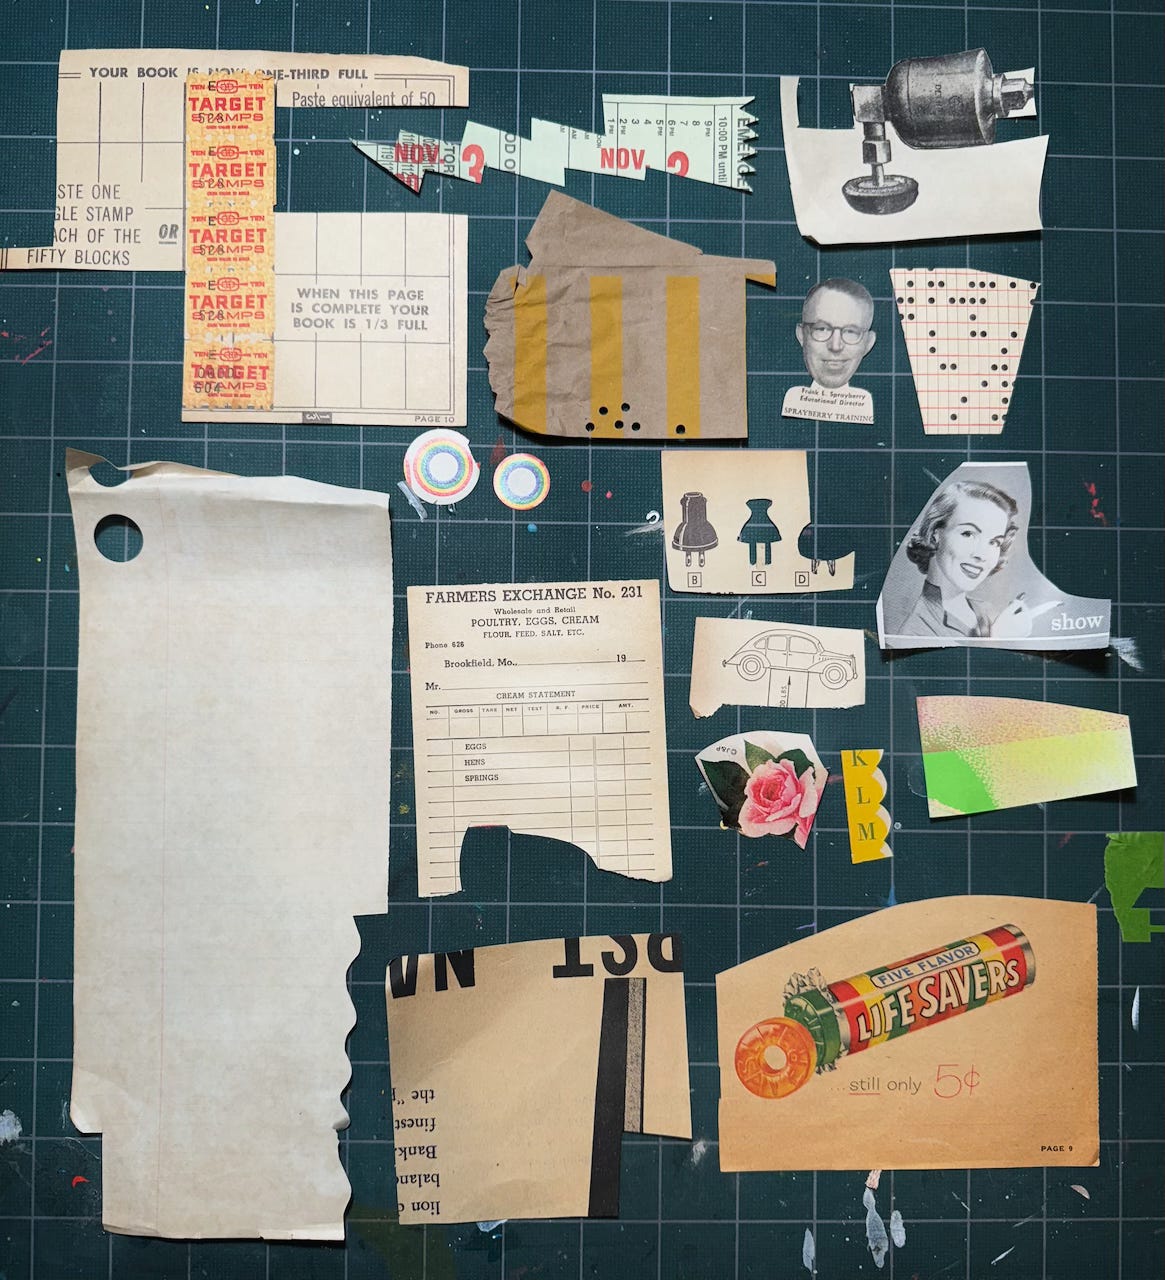
When I trade emails with artists who work in collage, at some point we end up with paragraphs discussing the junk that we collect, treasure, try to organize, and eventually use in our collages. Some artists are weirdly secretive about where they source their materials, as if there is some magic flea-market out there, beyond the rainbow, where one finds disintegrating newspapers and yellowing magazines that are somehow “better” for collage than some other pile of printed ephemera.1 Others will gladly talk about their trip to the local Salvation Army or to Paris, where they found whatever they found.
So to start, let’s talk about this particular enormous pile of crap.
The Crap
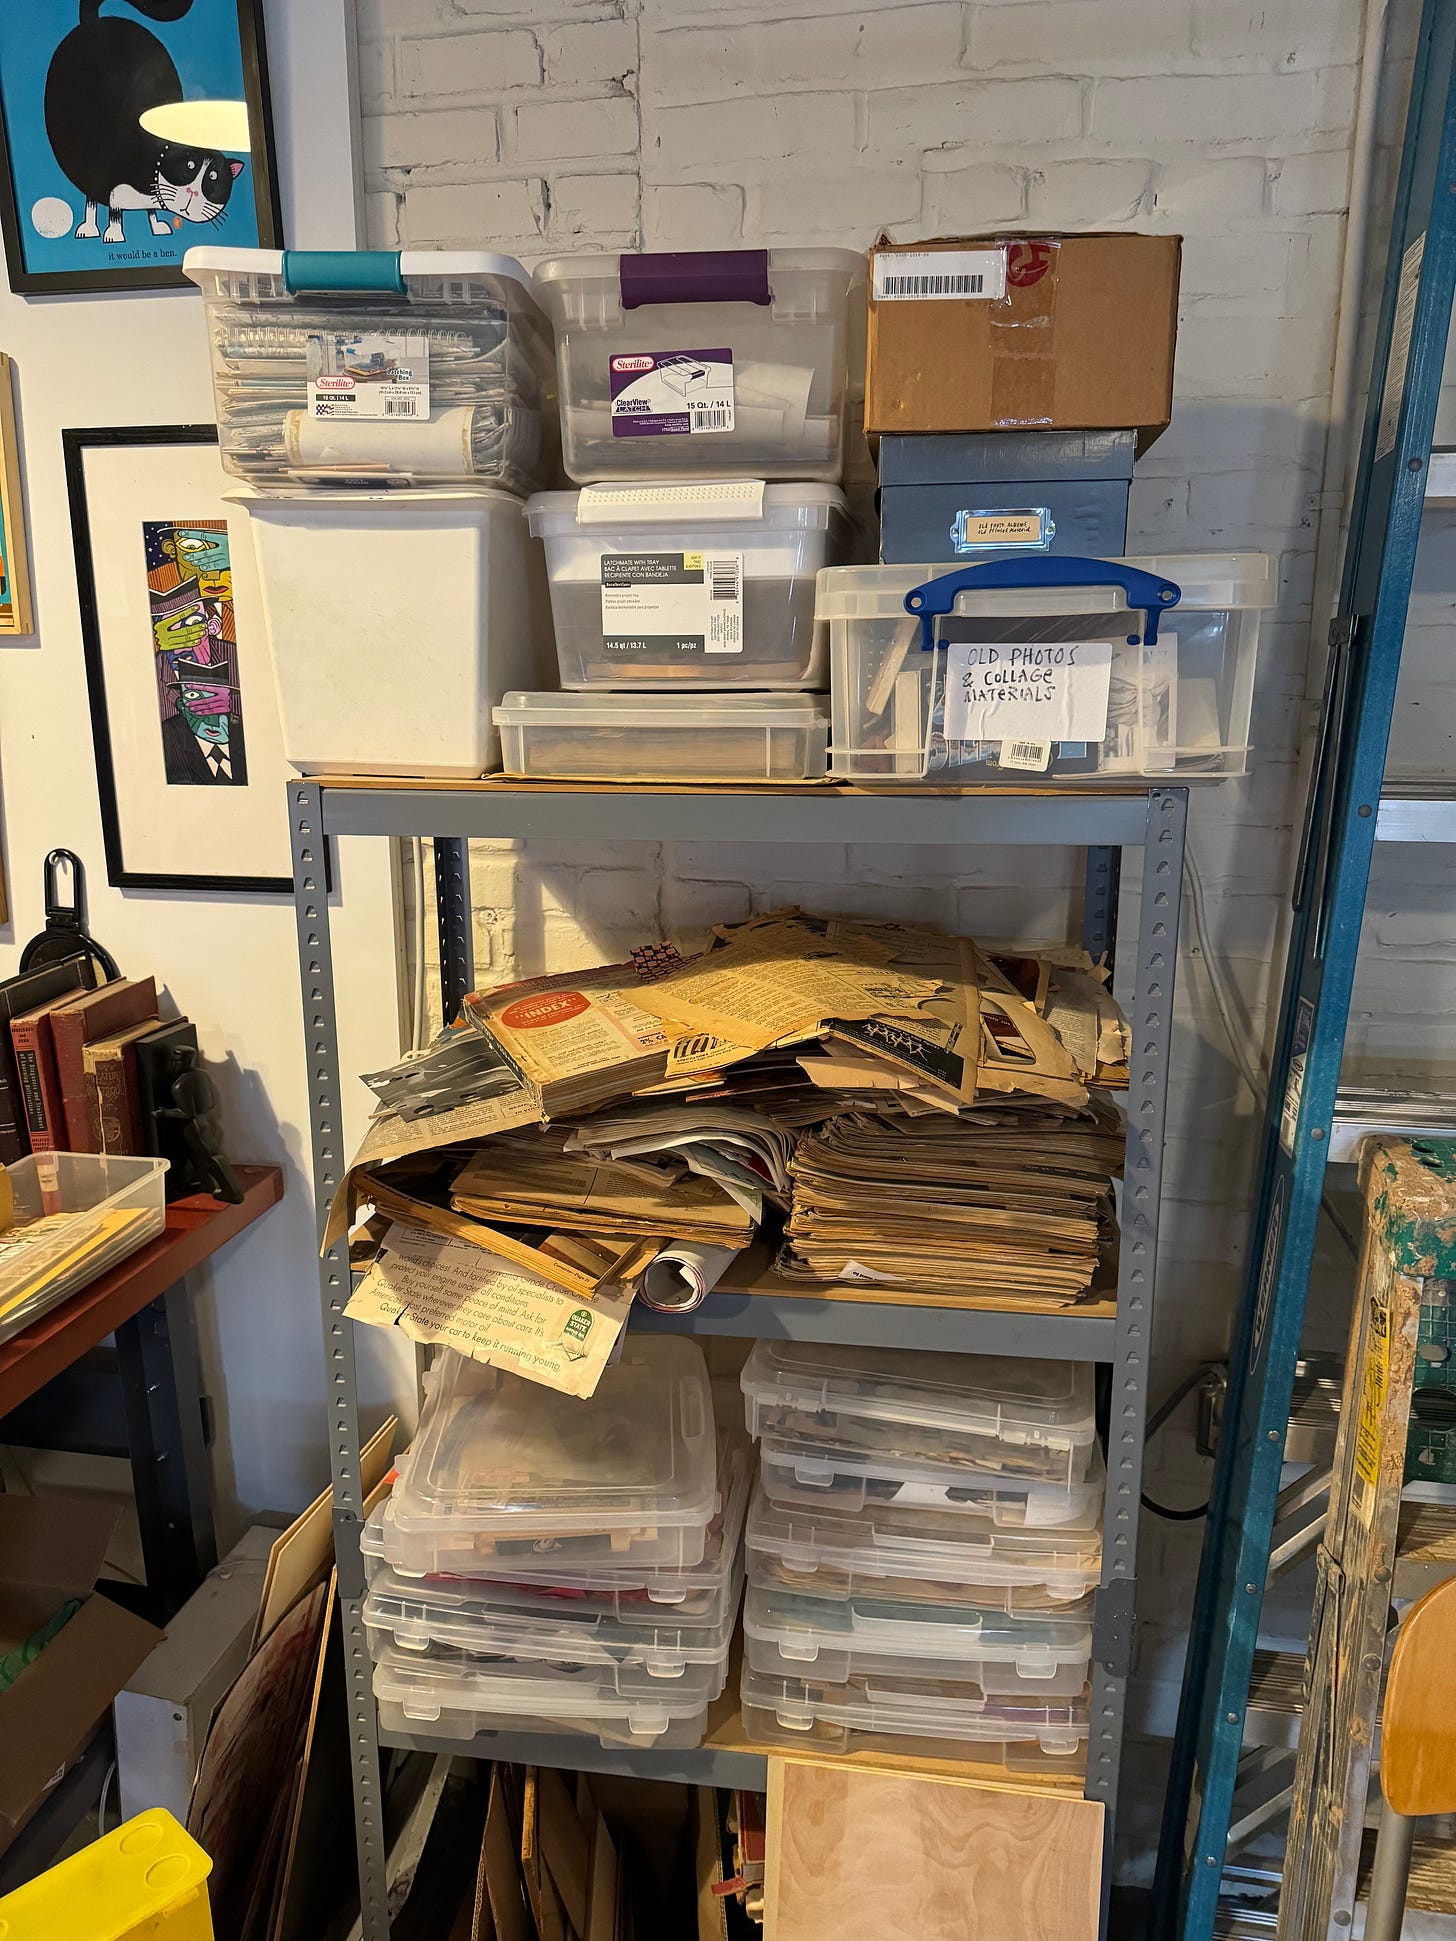
At the top of this shelf sit several bins that contain dozens of old comic books, hundreds of maps, thousands of postage stamps, and, as you can see from the label on the plastic box, “old photos and collage materials.”2
The pile of yellowing papers in the middle are mostly 50-year-old Life Magazines inherited from my father-in-law, tool and hardware catalogs from the 1940s, used graph paper, music notation books, remainders of a 1970s Sears catalog, two old issues of Boy’s Life, a Tulsa, Oklahoma newspaper from 1969, some issues of the men’s fashion insert from 1970s editions of the New York Times, and various other old magazines that have made their way to my studio one way or another.3
The bottom of the shelf looks like it is organized, in nice flat plastic bins, but that’s misleading. When I “got serious” about collage, with the trucks in 2019, I thought it would be a good idea to organize my bits and pieces of cut-up paper and torn-out magazine pages into colors. Yellow things would go into this bin, red over here, blue goes in that one. The problem is that in reality, organizing these materials ends up taking longer than actually making a collage. And most of the time, anyway, printed ephemera, with text and photos and illustrations and advertising, doesn’t neatly fit into a simple category like “orange.”
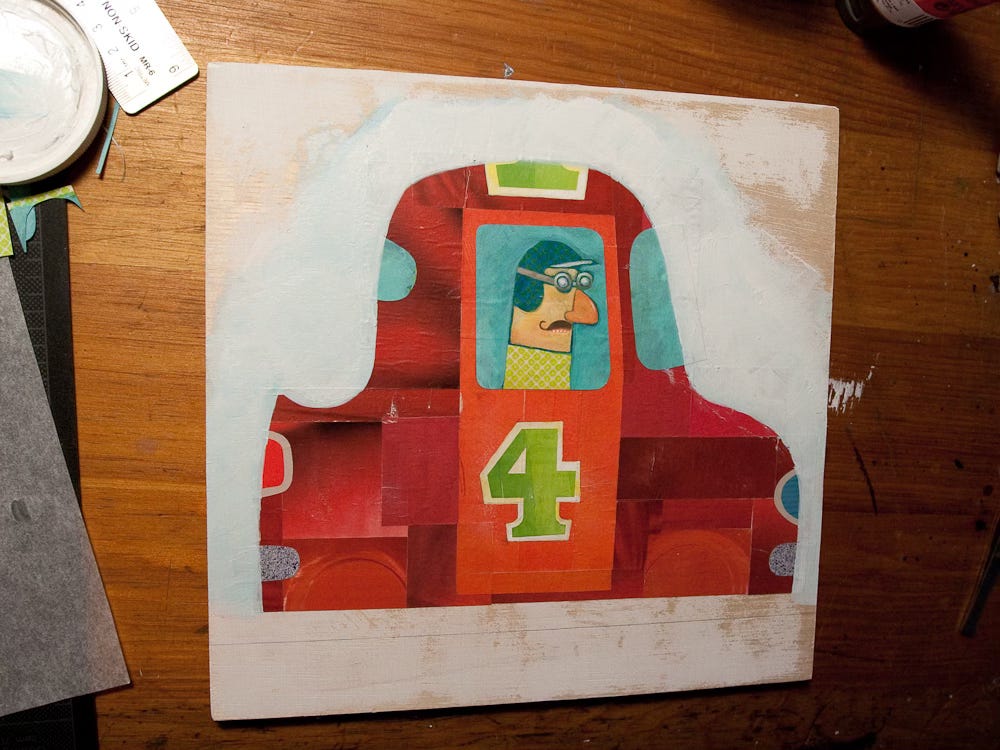
Beneath this is a box of wood panels that I use for substrate. This is the material on which the collages are made. My earliest collages, the race cars, were made on half-inch plywood, gessoed and sanded. The trucks went with much thinner 1/8” project boards from the hardware store. I still use this material a lot, but have been finding other materials like cedar shingles, old book covers, pieces of weathered wood I find on trash day, and so on. I still almost always gesso whatever it is I’m working on. Paper and glue and acrylic paint just works better on gesso.
You’ll find plenty of lovely, Pinterest-worthy photos on social media of very organized collage studios, of course. And whenever I see these pictures I roll my eyes. Organizing a million pieces of paper is a pastime for people who, I believe, aren’t really making collage. Instead, if you’re wanting to get into this game, you really have to turn on your photographic memory skills and just remember where it was you put the remainder of that page from the 1960 copy of Good Housekeeping that you used seven months ago. Part of me thinks that if I ever tried to organize this mess I’d lose everything, including my mind. But I’d probably find new favorites and different pieces that I didn’t even know I had.
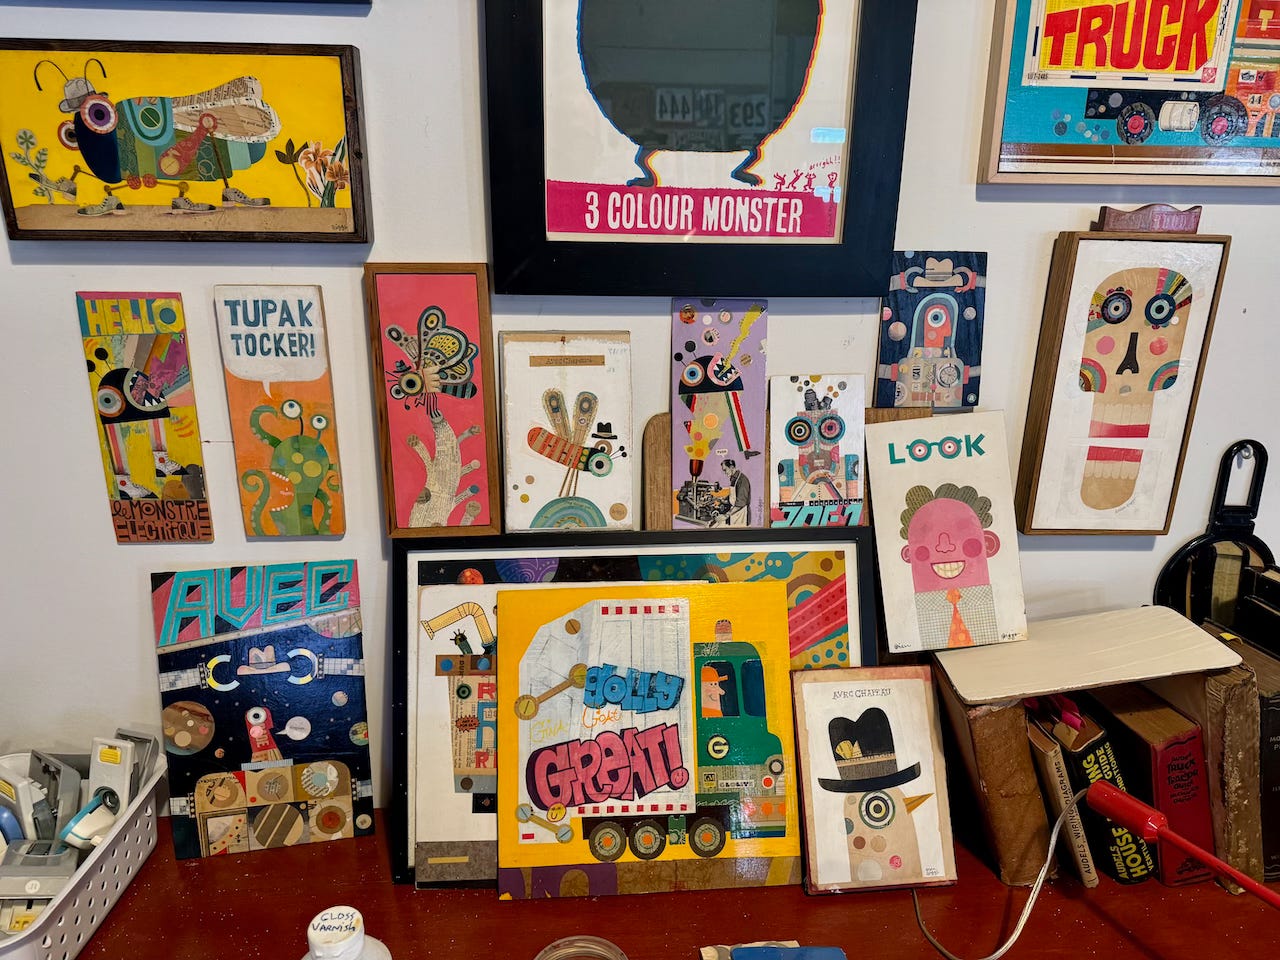
You can see pieces of these things that I describe on my collages. That insect wing is a crossword puzzle from one of the newspapers, the grill of the Robot Repair truck is musical notation paper and the grill of the Mr Quackie ice cream truck is a typewriter from an old catalog. The wings of that moth are a map of the San Francisco Bay Area. Oh, you didn’t notice that? Look again.
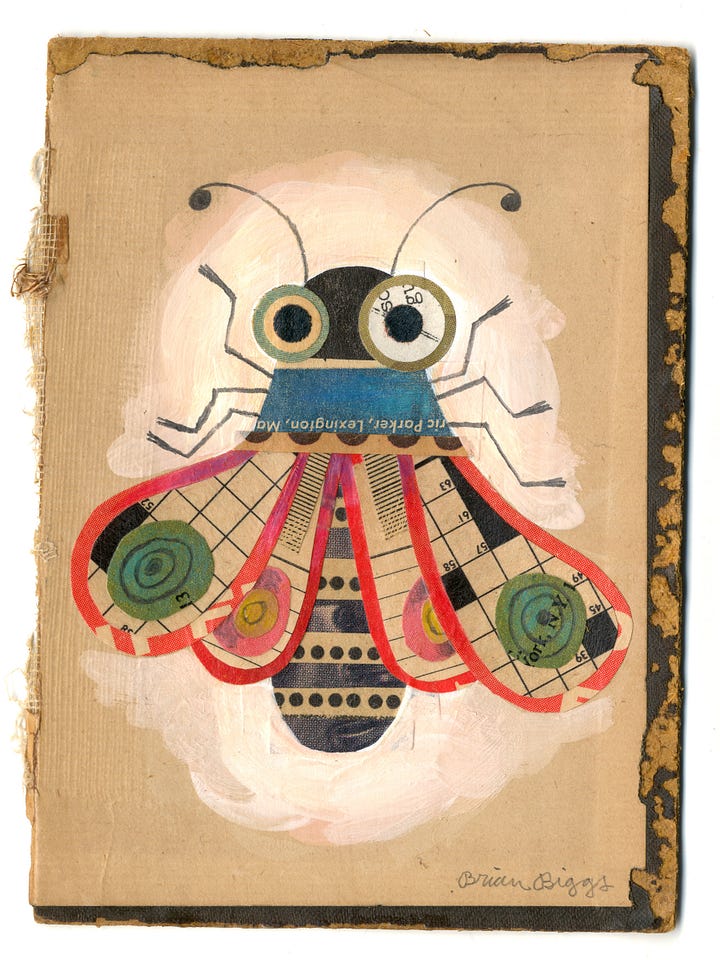
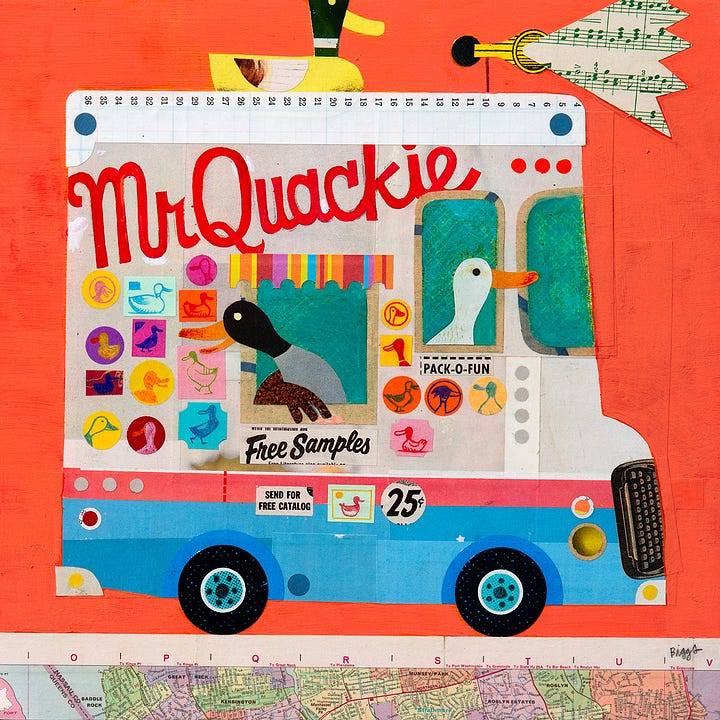
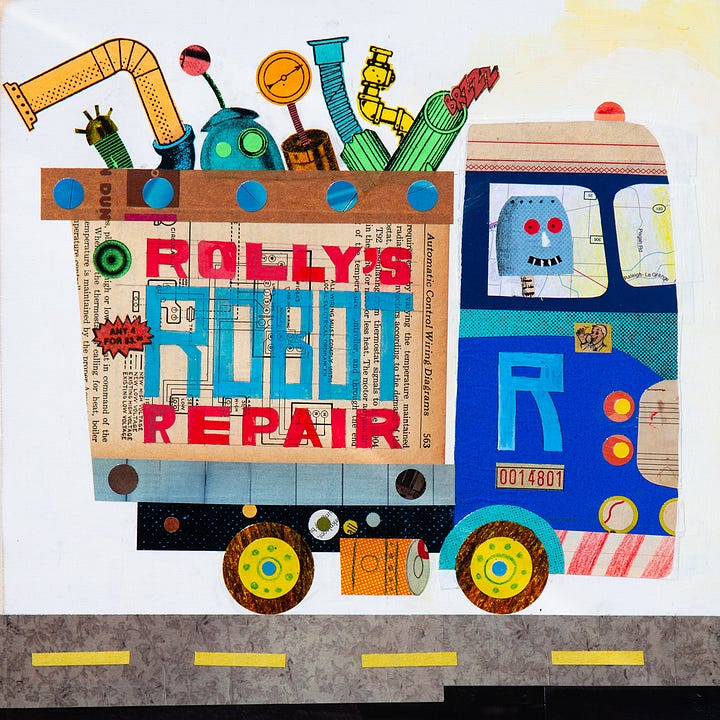
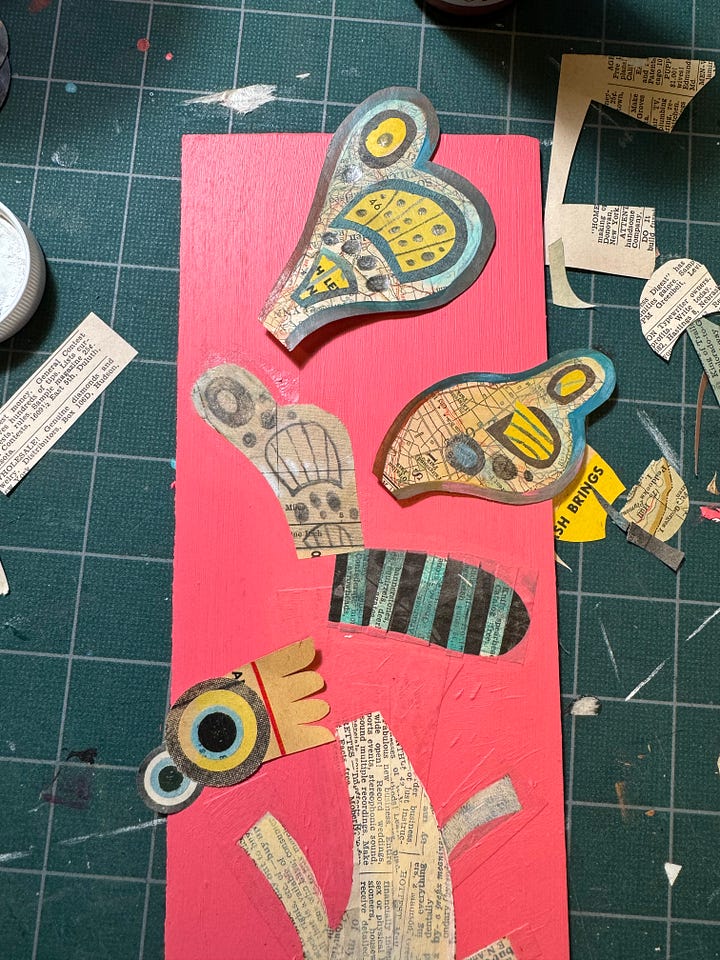
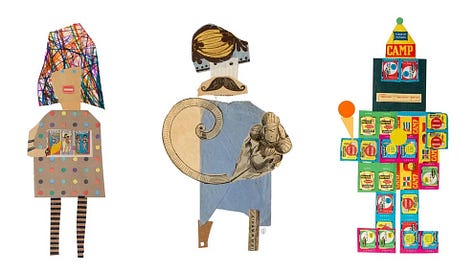
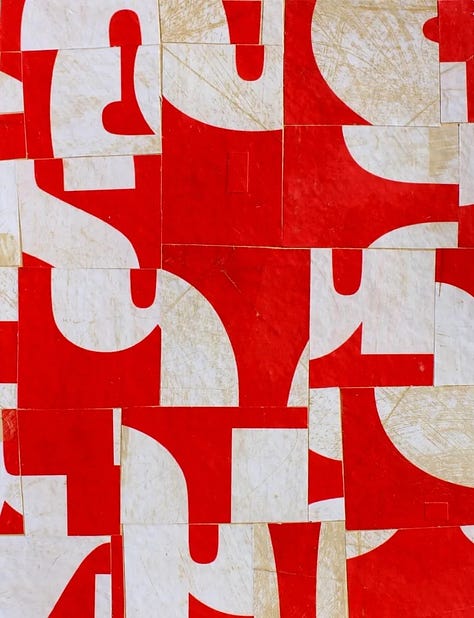
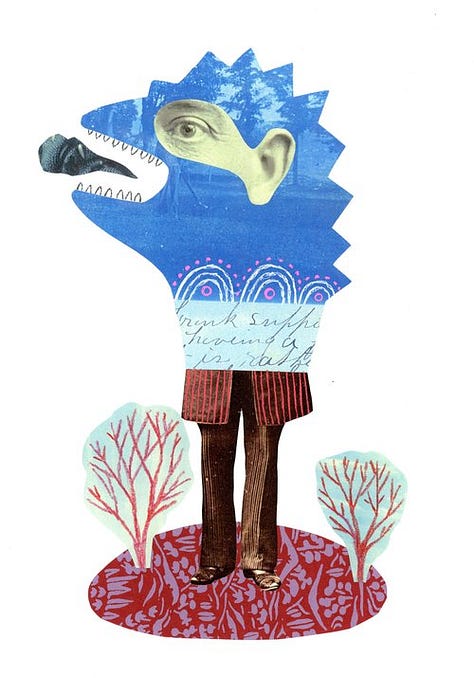
Noticing these details, and making out what this random piece of paper was before it became part of that collage, is actually one of my favorite things about collage. Looking at a collage by Cecil Touchon, or Jerry Jeanmard, or Julie Liger-Belair, three of my most favorite collage artists, I see signs, and advertisements, and old lost printed ephemera, and food packaging, and, yes, old photographs.
the Tools
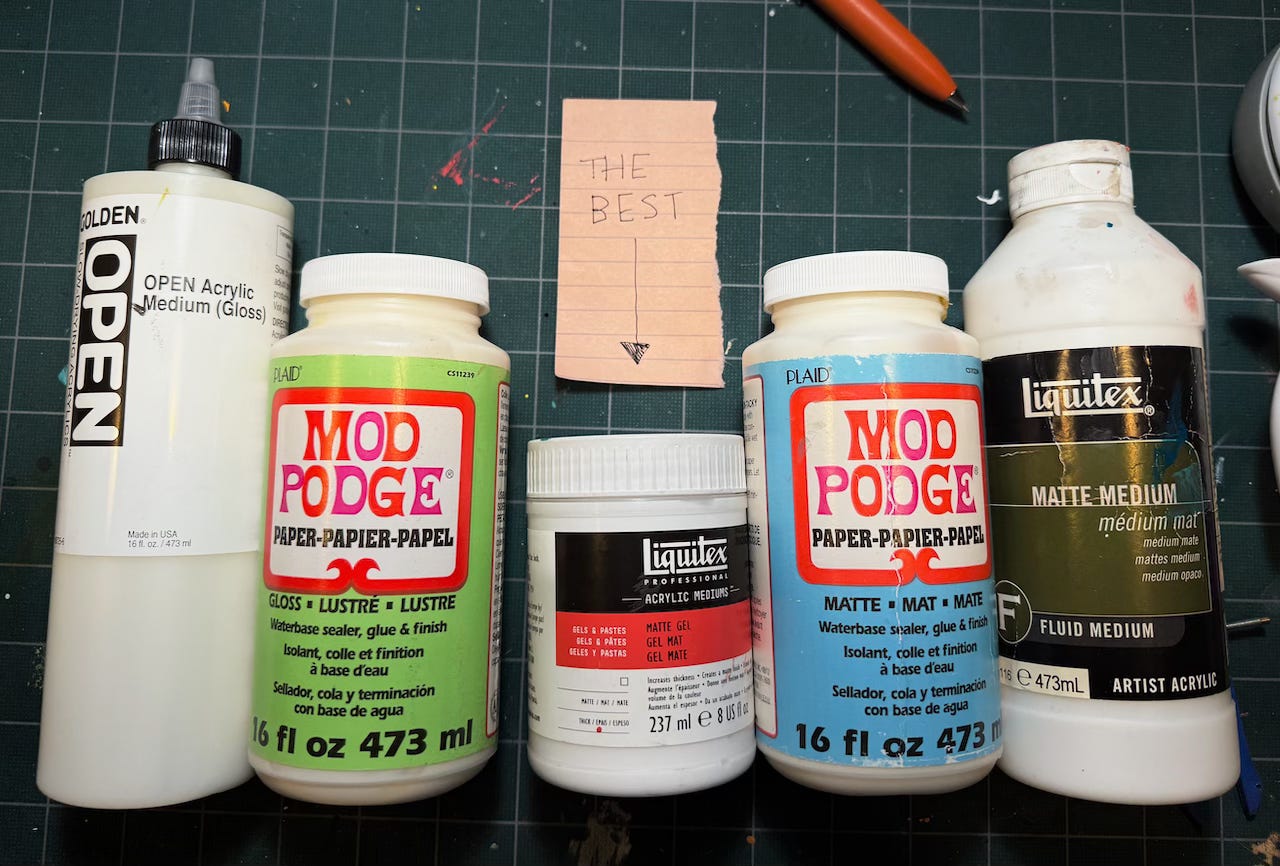
I started making collage with an X-acto knife, a stack of recent magazines,4 and a glue stick. I still use the X-acto knife, and I change blades every few hours. I also use three different sizes of scissors5. After literally one day of trying to use a glue stick for a collage, I bought a container of Mod-Podge. Mod-Podge served me well for quite a while, but when I needed some new glue, I went with acrylic medium, which works exactly the same but mixes better with acrylic paint. This has become important in my work. More recently, as I noticed the medium buckling some of my thinner papers, I found Liquitex gel medium. It’s much heavier and doesn’t run or soak into the paper fibers and I use this almost exclusively now.
My friend Barb gifted me a stack of patterned papers way back in 2009, and this with the modern magazines led to brighter colors in my early collages than I use now. I think I’ve swung the pendulum a little far in my obsession with old yellowing paper and materials, and I plan to bring back some of the bright in the next batch of work.
I use cheap cheap little brushes and cheap big brushes for the gluing. I buy these things by the dozen on Amazon. They dry up with glue medium quickly and I don’t feel bad to toss em.
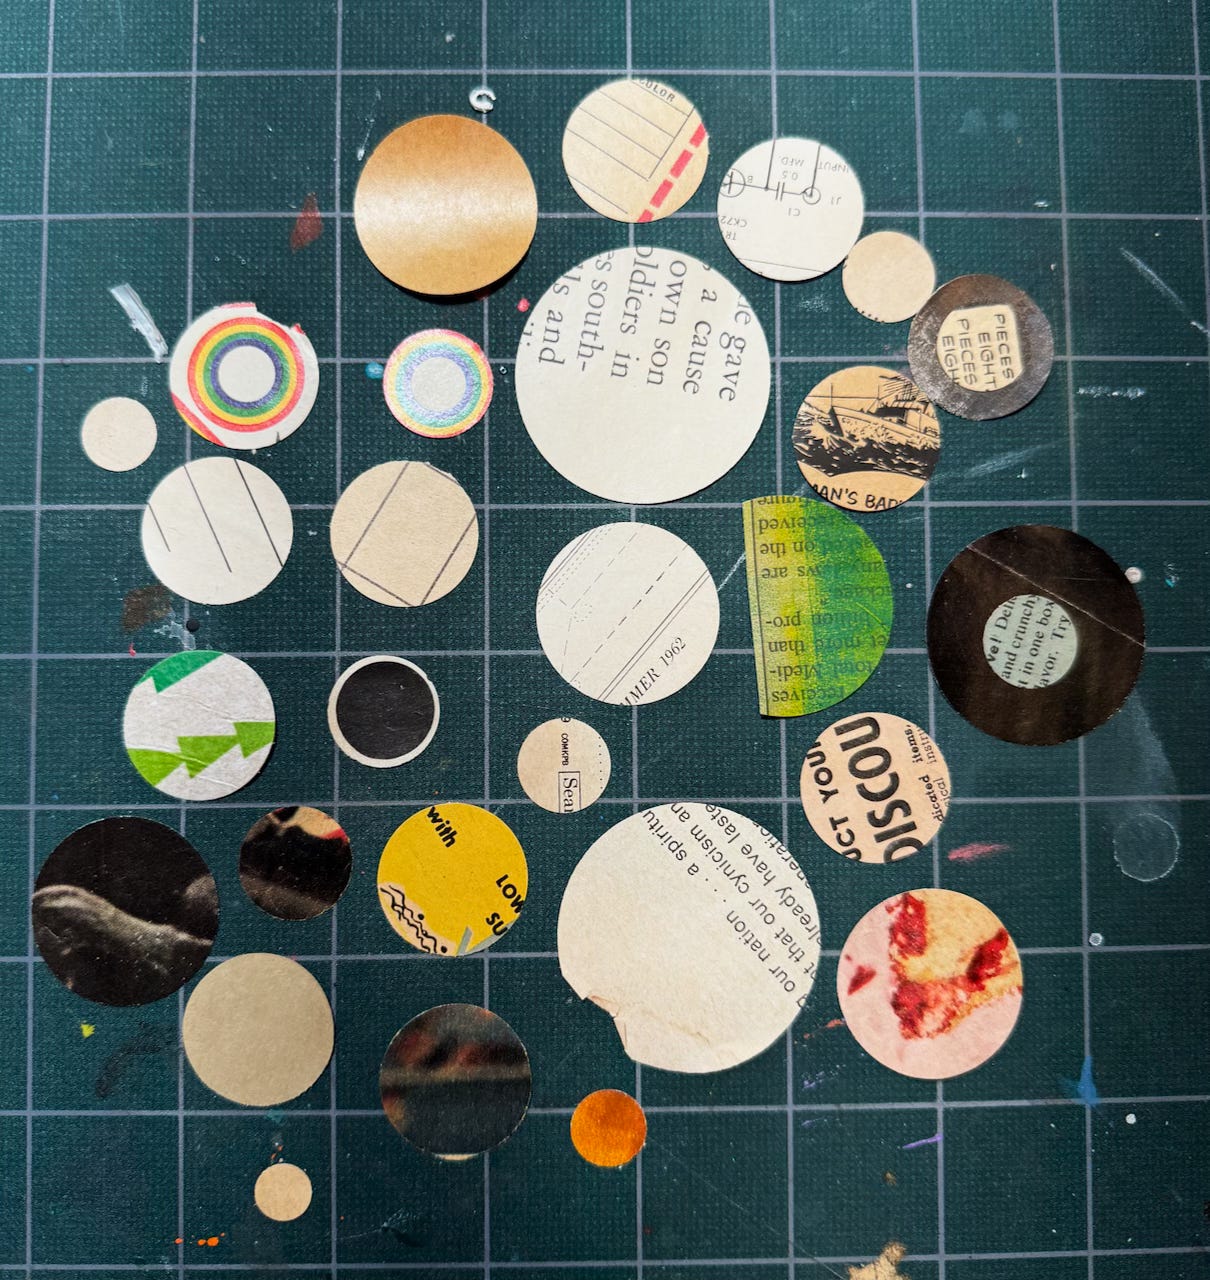
One of the most important tools I use are these hole-punches. Until I started making the trucks in 2019, and needed something to make perfect circles for wheels and tires, I had no idea these things existed. I have ten or more of them now. Before, I used an X-acto and a steel circle template to get curves, and trust me, that was terrible. I know a lot of people don’t like to use mechanical stuff like this in their collage work. They’re much more organic in the way they make images. And I think the argument could be made that I use it too much. I make wheels, eyeballs, more eyeballs… in fact I mostly use it for eyeballs. But I love these things.
My process is to start with big shapes in the background, use paint to define the negative space around the thing I am making, and just start collecting pieces of things that will work. It’s pretty simple. I mean, if you can imagine how this is done, that’s pretty much how it’s done. Since I use my sketches to first begin planning a collage, it becomes something of a puzzle for me. How do I make this look like that? Unlike a lot of collage artists, I manipulate the materials for my end goal, rather than let the paper define things. Like, I wouldn’t use an actual face from a photo for a face. I’d construct it. Or a photo of a house for a house. It’s all color and texture and shape. Nor do I work in the abstract. The images are defined by how I draw. For collage, it’s a pretty controlled process. But relative to my regular illustration work, it’s miraculously freeing.
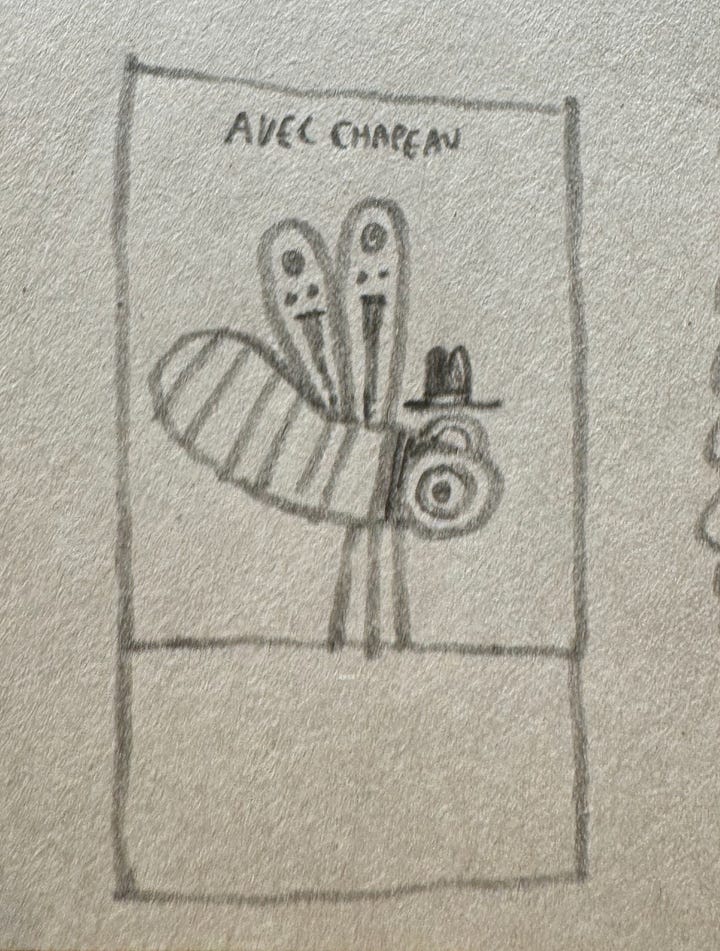
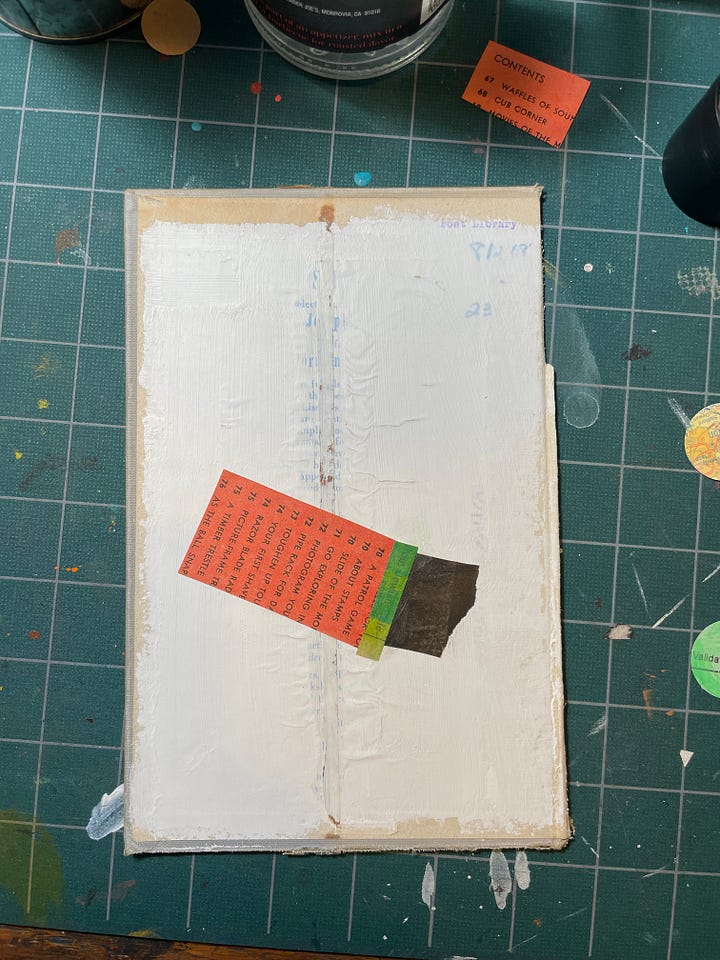
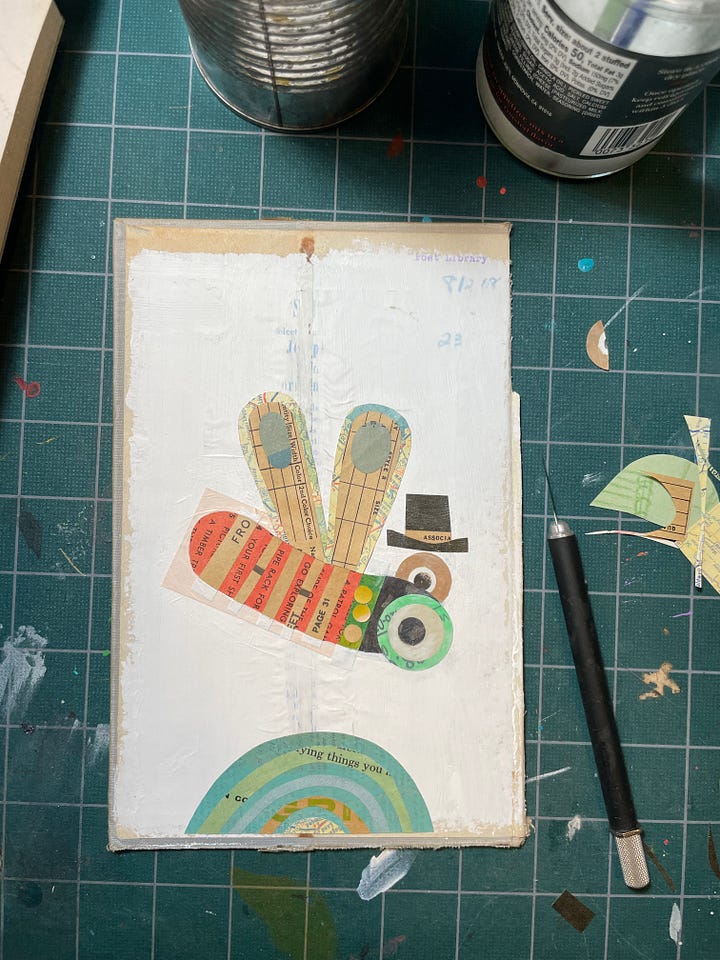
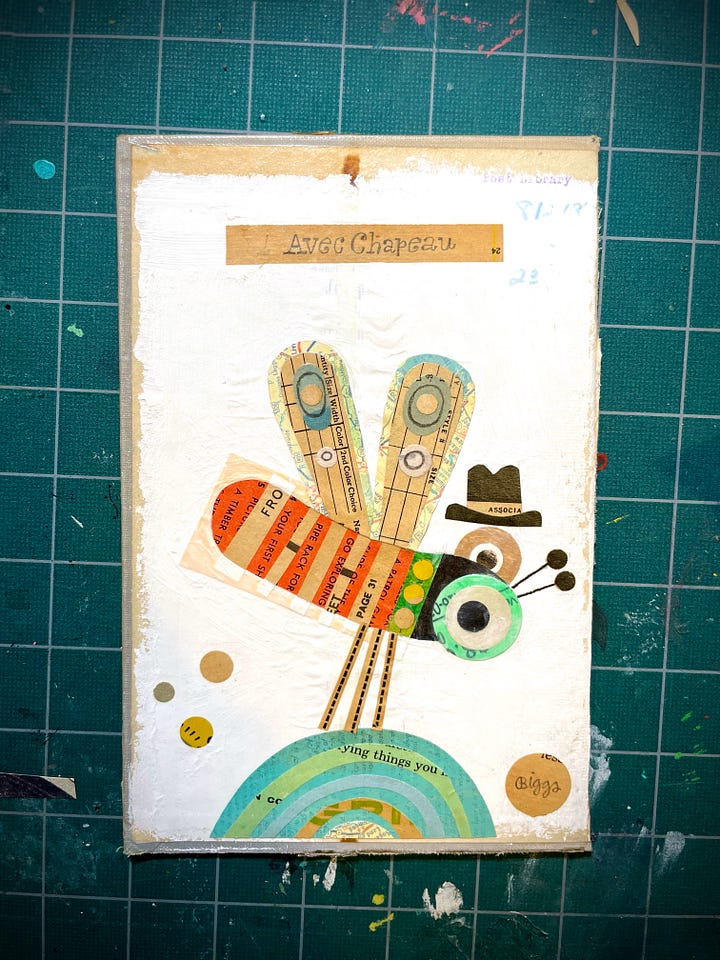
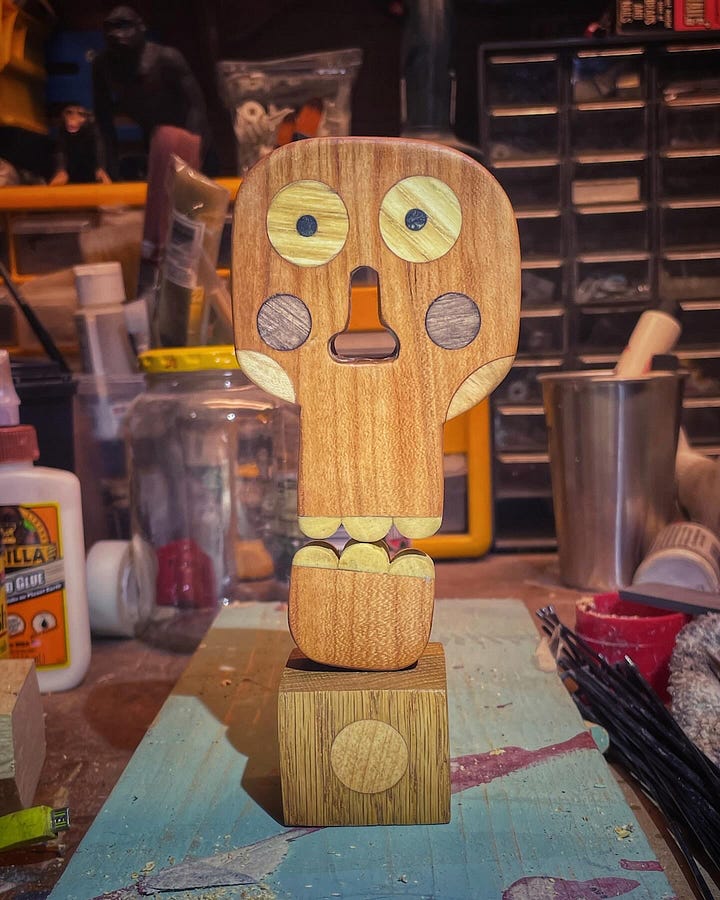
The emphasis these collages put on shape and color, versus the drawings I normally do, has led to taking parts of this process and using it for other sorts of work as well. Namely, the woodworking that I occasionally do. And most recently some drawing I am doing in vector, using Adobe Illustrator. Illustrator often frustrates me but as I approached these bicycles like collage, it made the process much more fun and interesting for me.

Now What?
I have a show coming up in January at Chapterhouse Cafe and Gallery in South Philadelphia. I am making a bunch of new work for the show that will be for sale. I recently got an email from Contemporary Collage magazine that they’re publishing some large-format hardcover books of collage, and they asked me to be part of this. I love that these collages get some attention and find their way off of my desk and into the world. I usually have a few for sale on my web shop and at times I can take commissions.
Now, I just turned in the sketches for a book I’m illustrating, which means I have a few days now to clean off the desk, pull out the glue and the knife and a stack of old paper, and make a mess.
Thanks for reading.
We can ignore these goofballs for they are against the spirit of sharing, and are probably mean to their dog.
I mention the old photos special, because I have not yet had the guts to cut up old photos, yet. There are creative reasons for this that I discuss in this newsletter — mainly, I create illustrations with these materials and I don’t really use them intact. But also, there’s something different from a piece of printed matter, like a newspaper, from an actual photograph, of which there is probably only one. It’s someone’s family member. I haven’t got past that yet.
When I find old magazines, the important criteria is usually how shitty is the printing. The shittier, the better. The halftones are big and sloppy, the type is imperfect, the colors are fading. Or else the colors are so neon, like in a home-goods catalog I have, that I wonder how they printed this thing. It must be fifteen colors.
these included Martha Stewart Living, some 1990s Rolling Stones, and for some reason a dozen or so surfing magazines.
There seems to be a debate in collage circles about knife versus scissors. I don’t get this, so maybe someone can explain it to me.


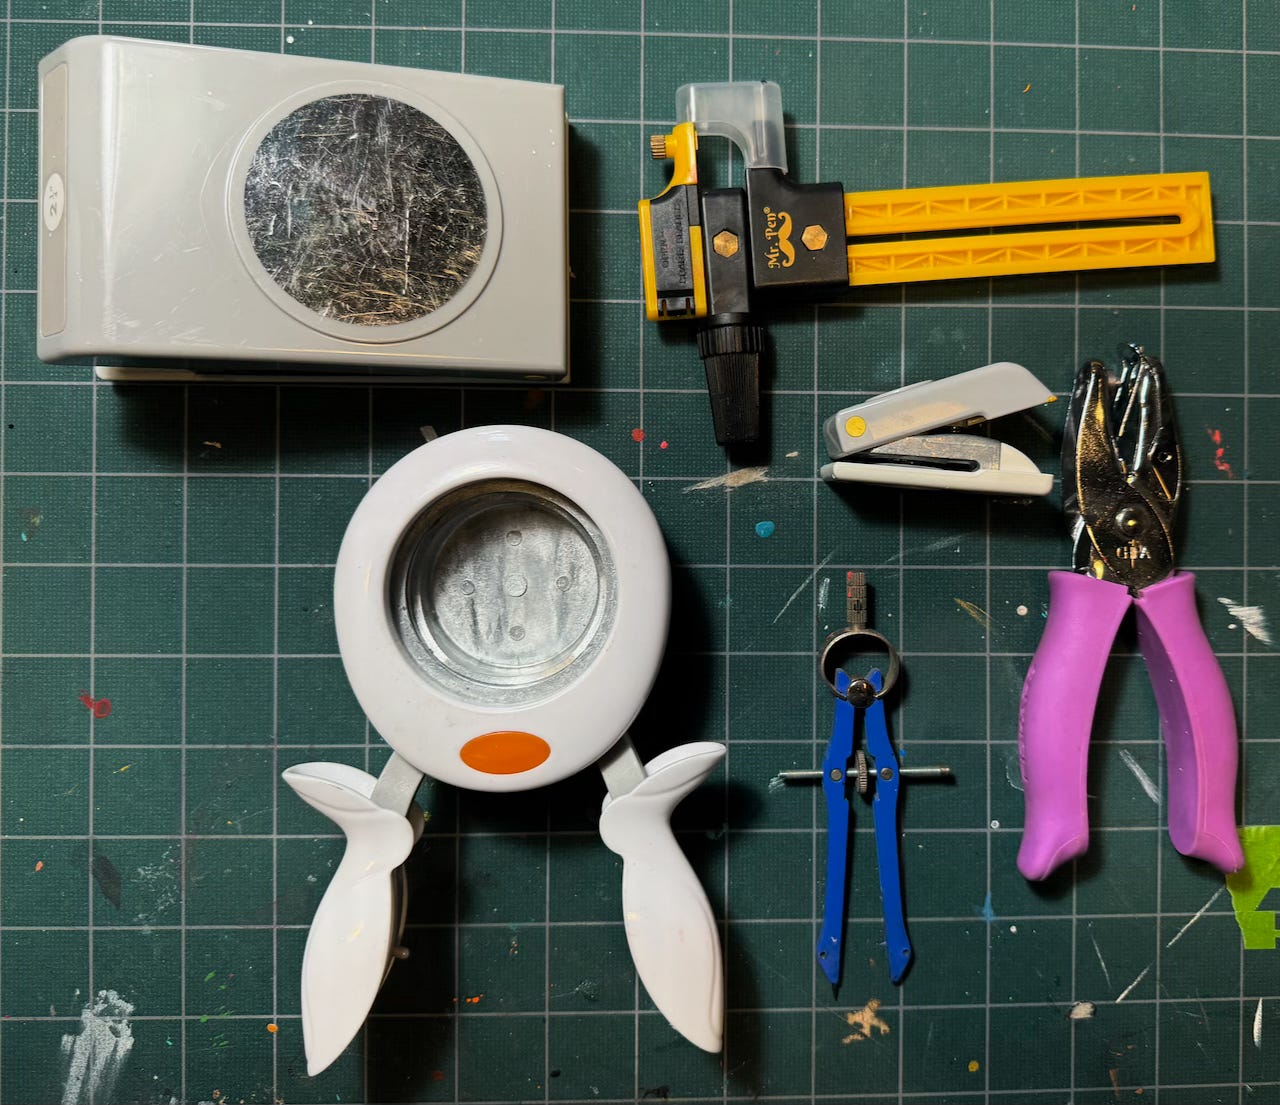
I have loved all of the posts about your collage but the detail of your process in this one is very beneficial. As a high school teacher of drawing and painting I also incorporate collage into my courses however it is not a strong point of my practice. While I have figured out some things like hole punches and compasses for circles, getting beyond the glue stick or double-sided tape rollers was an issue. And maybe most importantly how you translate your drawing of shapes into the final work is incredibly valuable. I will be sharing this post with my students this year. Thanks so much for taking the time to share this Brian!
Thanks for the mention Brian. exacto knife is for precision cutting especially for use with a ruler or for very tight cuts or intricate cuts, scissors are for more casual cutting. Then there is tearing. A lot of artists like torn irregular edges instead of cutting or in combination with cutting. I use all of these techniques.
On the subject of acrylic medium, I usually use Golden brand liquid matt medium but there is also gel medium. Both can be thinned with water. The gel medium is good to use with heavier papers because it has more tack but even thinned down it is still more tacky that regular matt medium. BUT if you are using a lot of blacks or dark colors you might want to use gloss medium because matt medium has talc in it which makes it flat and not glossy and that talc can alter the dark colors and obscure the vibrancy of intense colors.
I also keep a spray bottle to dampen certain papers before gluing them. This lets the paper absorb moisture and then the paper expands a little bit. Then when you glue it down it won't get bubbles but will shrink tight. Certain papers have a varnish coat on them and if you just put glue and then glue them down the paper expands a little after you already glued it and that makes possible bubbles in the glued surface.
Just a few tricks.